How to Install a 12V Rooftop Air Conditioner in Your Camper Van – Step-by-Step Guide
How to Install a 12V Rooftop Air Conditioner in Your Camper Van – Step-by-Step Guide
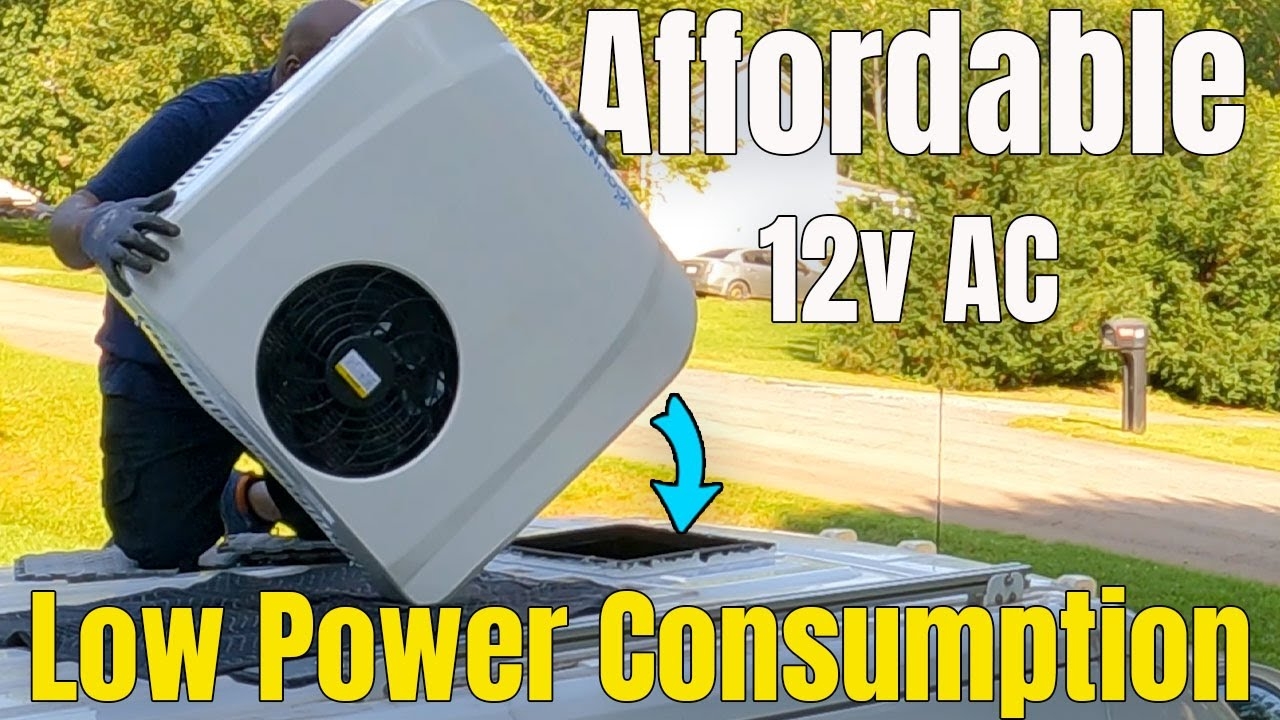
To God be the glory! We successfully installed a brand-new Country Mod 12V 10,000 BTU rooftop air conditioner in our camper van, affectionately known as Glo. With temperatures soaring to over 90°F, staying cool is no longer a luxury—it’s a necessity. In this guide, we’ll walk you through the full process, from unboxing to first cool breeze, sharing everything we learned along the way.
Why We Chose the Country Mod 12V Rooftop AC
When it comes to van life air conditioning, the options can be overwhelming. We needed something that would run efficiently on 12V power, have a high enough BTU rating for real cooling, and wouldn’t drain our batteries. The Country Mod 10,000 BTU AC checked all the boxes:
- 12V power compatibility
- Remote-controlled operation
- Low noise level
- Easy-to-use thermostat and display
- Compact enough to fit on a van roof
And with summer temperatures reaching 93°F on install day, the timing couldn’t have been better.
Unboxing the AC Unit
The Country Mod rooftop unit came well-packed with everything needed for installation:
- AC unit with attached fan
- Interior vent and faceplate
- Rubber gasket seal
- Power cables (heavy-duty gauge)
- Motherboard and display screen
- Mounting hardware and insulation foam
- Remote control
- User manual
Pro tip: Don’t skip reading the manual—this isn’t your plug-and-play fan!
Prepping the Camper Van Roof
We started by cleaning the roof of Glo. No water or harsh sprays—just a dry cloth to prevent moisture buildup during the cutting process. The surface must be clean to ensure proper adhesion of the gasket and sealant.
Safety First
Before cutting into the roof, always double-check what’s underneath. You don’t want to nick any wires, frames, or supports. And always wear safety goggles when drilling or grinding.
Cutting the Roof Opening
The most nerve-racking part of the install was cutting a 14″ x 14″ hole in our camper’s metal roof. But using the inside faceplate as a guide made it easier. Once the hole was cut:
- We cleaned off the metal shavings
- Sprayed a rust-prevention coating inside the cut
- Let everything dry before placing the gasket
This step is crucial for long-term durability and preventing leaks.
Installing the AC Unit
We applied the rubber gasket around the hole and added extra self-leveling sealant to ensure watertight protection. Then, using a moving blanket for support, we carefully slid the AC unit into position.
Leveling and Supporting the AC
Because the AC is wider than the hole, we used the provided foam blocks to level the unit and reduce stress on the roof panel. From inside the van, we reinforced the roof with wood panels to give the mounting screws something solid to grab onto—otherwise, you’re just clamping to thin sheet metal.
Wiring and Electrical Setup
The unit’s heavy-duty power cable was connected directly to our battery system. It draws between 32–33 amps at full blast, which is manageable for our off-grid setup. Make sure your battery bank and wiring can handle the draw before attempting the install.
Pro Tip:
Use a fuse between the unit and battery, and test voltage before powering up to avoid surges or shorts.
Testing the AC System
We fired up the unit—and praise God—it worked on the first try! The remote let us switch from Celsius to Fahrenheit (hold “Mode” + “Down” while off), and we dropped the temp to a chilly 64°F with the doors still open!
Noise Level and Airflow
The unit is impressively quiet, even at full power. Plus, the directional vents let you aim airflow exactly where you want it. We confirmed the air temp using an infrared thermometer—inside temps were even cooler than the display showed.
Should You Replace or Add a Fan?
We debated removing our Maxxair fan to use the existing roof hole, but decided to keep both systems. Now we can pull in fresh air with the AC fan and exhaust stale air with the Maxxair. This dual-fan setup creates a cooling airflow loop—perfect for mild days without running the full AC.
Final Adjustments and Trim Work
To seal the install and improve aesthetics:
- We added insulation foam around the unit inside the van
- Filled in roof gaps with block panels
- Will install ceiling paneling to hide everything neatly
Once completed, the install looked clean and professional, with no visible hardware or exposed wiring.
Results: How Well Does It Cool?
With the AC on high, our interior dropped from over 90°F to a comfortable 64°F in minutes—even with the doors open. With the van sealed, we estimate even better efficiency.
We now have a climate-controlled mobile home, ready for any summer destination. No more sweaty nights or abandoned plans due to heat!
Pros & Cons of the Country Mod 10,000 BTU Rooftop AC
Pros:
- Runs on 12V DC power
- Quiet, energy-efficient cooling
- Remote controlled
- Adjustable directional vents
- Compact, low-profile design
Cons:
- Requires roof cutting
- Moderate installation skill needed
- Higher amp draw (32–33A) requires proper battery setup
Final Thoughts: Was It Worth It?
Absolutely. Installing the Country Mod 12V Rooftop AC in our camper van was one of the best upgrades we’ve done. With a little planning, patience, and faith, we now travel in comfort no matter how high the temperature climbs outside.
To God be the glory—He got us through this install on the first try. No leaks. No hiccups. Just cool air and answered prayers!
If you’re living the van life or converting your first camper, we highly recommend checking this unit out. You’ll find all the links and resources we used down below. The link and coupon code are below to purchase 12V/24V Countrymod Rooftop Air conditioner –
$30 Coupon Code: Land30 Buy this Inverter RV Air Conditioner now: https://bit.ly/CountryModPro-RV-Air-Coditioner
Or buy it on Amazon: https://amzn.to/4iSEbxZ
Watch the Full Installation on YouTube
Want to see the whole install in action? Check out the full video on our YouTube channel. Click Here ➡️ Wherever We Land.
Stay Cool, Stay Blessed
Thanks for reading and following our van life journey. Don’t forget to pray before you build, and keep God at the center of all you do.
—Fish Snatcher & Nikki
Wherever We Land


Leave a comment